


A Beginner's Guide to Astrophotography
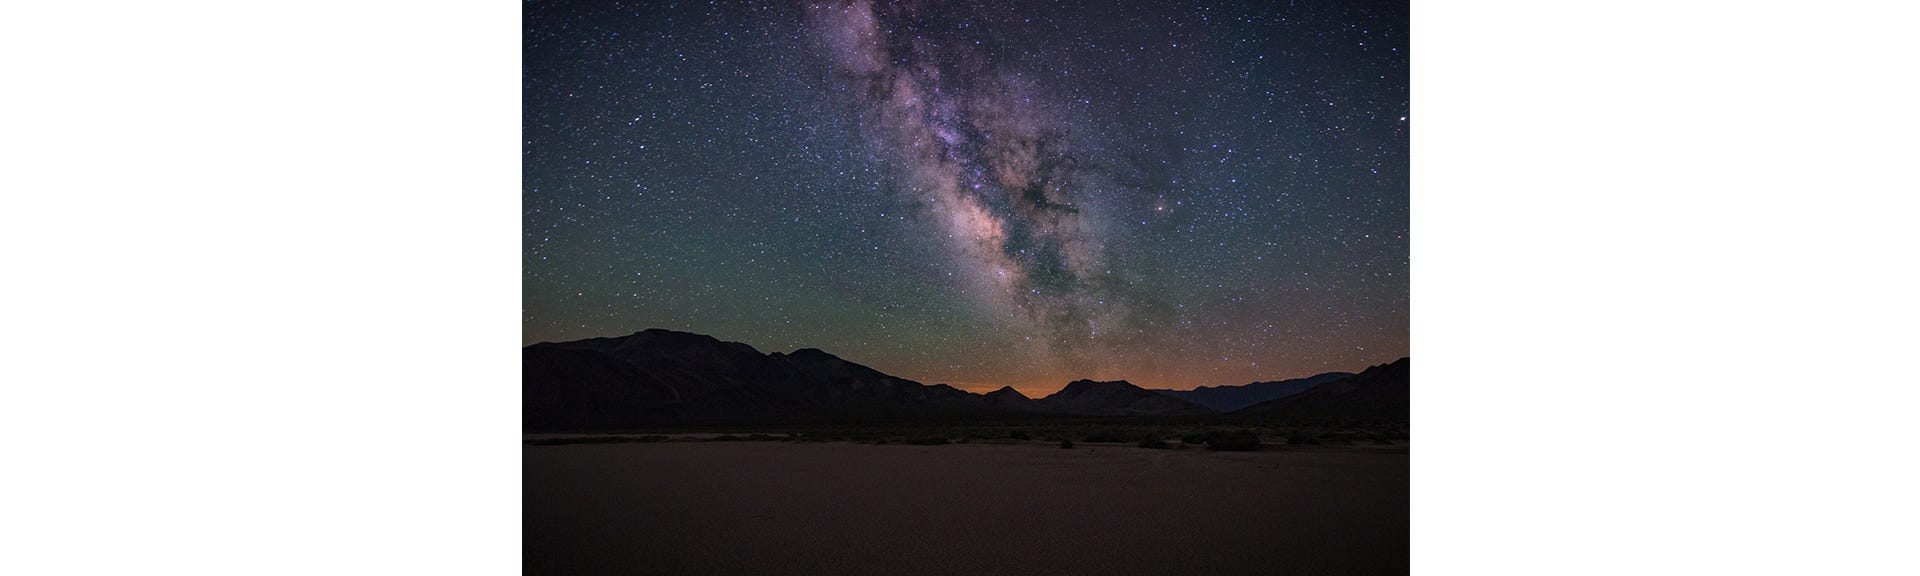
Photographer Mike Ince is back on the CG Pro Prints blog to share tips for beginners interested in getting started with Astrophotography. Mike has many photography passions, and he was excited to share his Astrophotography advice with the CG Pro Prints audience. Continue reading to learn more about capturing the elusive Milky Way and creating gorgeous galactic shots of your own.
After reading this blog, you will have enough information to capture the Milky Way with your own camera as well, so let’s get started.
What Equipment Do I Need?
Camera Body: A DSLR body works best, full frame or crop sensor will work in the right conditions (and even mirrorless nowadays!). You may have slight noise issues on the crop sensor, but noise is much easier to combat with the technology available today. As long as you have a camera that shoots in RAW and allows for manual settings, then you are set for camera body. A Fast/Wide Lens: Ideally you will want to be working with a lens that opens as wide as f/2.8 or faster. These shots require a lot of light to enter the lens. If you don't have something this fast, then you could consider renting one for your shoot. You will be covering a pretty vast area so you will also want a wide lens. Something equal to or less than 24mm should give you some nice distance to work with. Tripod: This is a must. The sturdier the better. If on soft ground, make sure the legs are dug into the ground slightly. Consider hanging some weight from the tripod if you need more support when dealing with windy conditions. While capturing these shots you will want to open the shutter and not touch your equipment for the duration of capture. Flashlight/Headlamp: You will be in the dark so this should go without saying. Headlamps work to keep your hands free, but you can’t go wrong with either. Batteries: Long exposures can take a toll on your batteries so it’s always good to have some extras on hand! Optional: I’d recommend bringing a shutter release/remote, but this is not an absolute necessity. You can use the built in timer/intervalometer as well, if your camera body has these features.I Have My Equipment… What About Settings?
Luckily this part is a breeze compared to set-up. Below are the settings to start with that will help you to capture some gorgeous astro-shots. Aperture: Wide open. You want to allow as much light as possible to come in! ISO: 3200 is an overall good point. There are a few extra things to remember about ISO though. Don’t hesitate to crank it up. Noise reduction technology is only getting better and better and there’s some great options currently available. Pro Tip: When arriving in the dark to a location, crank that ISO up sky high! This way, you can see your surroundings and get your composition together. Once you have a better idea of what’s out there, dial it back down to a reasonable level. Shutter Speed: Most cameras will allow a 30 second shutter speed without the use of a remote. You can use this when you need the extra light. However, I’d recommend setting the shutter for 15-25 seconds. This way you avoid star trails, which can occur with a 30 second shutter speed due to earth’s rotation and your shot will not look as sharp as it possibly can. White Balance: You are safe leaving this on auto, and don't forget if shooting in RAW, you can adjust this to your liking in post. I tend to favor cooler temps in the area of 3500-4000 degrees. Shoot in Raw: This gives you the most option in post processing and captures the most amount of data. RAW is also an ideal setting for sharpening photos later in post. Manual Focus: This one is very important! The proper focus can make or break your shot. The infinity mark on your lens will not always be the infinity point. Verify this. Research it for the specific lens with which you’ll be shooting. Alternatively, you can focus on a far off object if you’re setting up during the daytime and note this spot until you begin shooting at night. If it’s already dark you can focus on a bright street light on the way out to shoot. This will be enough to put you in the ballpark of where you’re focus needs to be. Use your first few shots to fine tune focus as you go, making subtle adjustments as needed. Be patient with this step because these shots are only successful when tack-sharp! Zoom in on your viewfinder and make sure the stars are very fine pin points. The good news is that once you find the infinity mark, it will always be this spot on your lens.
What About Weather and Light Pollution?
Clear skies are of course the best skies when trying to capture the stars above us. So be sure to check weather conditions and cloud coverage before you head out to shoot. As for light pollution, the farther away from any light pollution, the better. Unfortunately, this is not always an option for many of us as most people live in or near metro areas. Luckily, there are still ways to deal with the light pollution. The most obvious way is to drive away from it. Light pollution can be seen from even a few hundred miles away. At the very least, you need to get out of the city limits. Angle yourself correctly to try to shoot from an area where you can position the worst of the light pollution behind you and Milky Way in front of you. Also, the darker the sky the better. Shooting later at night can help because more lights in urban areas will be turned off as businesses close and people go to sleep.What Role Does the Moon Play in These Shots?
Moonlight is also another factor. Ideally you will want to shoot when the moon is below the horizon or during a new moon. A perk of shooting during the new moon is you have the entire night (during summer at least) to shoot and not worry about the moon rising and affecting the lighting of your shot. Pay attention to the moon rising and setting times. If the Milky Way is up at 12 am and moonset is at 10 pm, then you are safe to shoot. The same applies if the Milky Way core is out early and the moon rises late at night, then you can shoot before moon rise.